
The Ultimate Checklist for Creating a Marketplace on Shopify with Shipturtle
The Ultimate Checklist for Creating a Marketplace on Shopify with Shipturtle


Shopify is a popular e-commerce platform that allows businesses to create an online store and sell their products. However, what if you want to create a marketplace where multiple vendors can sell their products? Creating a marketplace on Shopify using the Shipturtle app is a great way to expand your eCommerce business by hosting multiple sellers and a wide array of products. This guide will walk you through the essential steps to create a marketplace using Shopify and Shipturtle, and how to compete with competitors like Dokan, Webkul, CS-Cart, StoreHippo, and Yo-Kart.
Step 1: Choose the Right Plan
Before you start building your marketplace, you need to choose the right Shopify plan. Shopify offers three different plans: Basic Shopify, Shopify, and Advanced Shopify. Each plan comes with different features and pricing. For a marketplace, you will need the Shopify plan or the Advanced Shopify plan. These plans allow you to add multiple staff accounts, create custom reports, and offer advanced features like gift cards and professional reports.

Step 2: Install Shipturtle
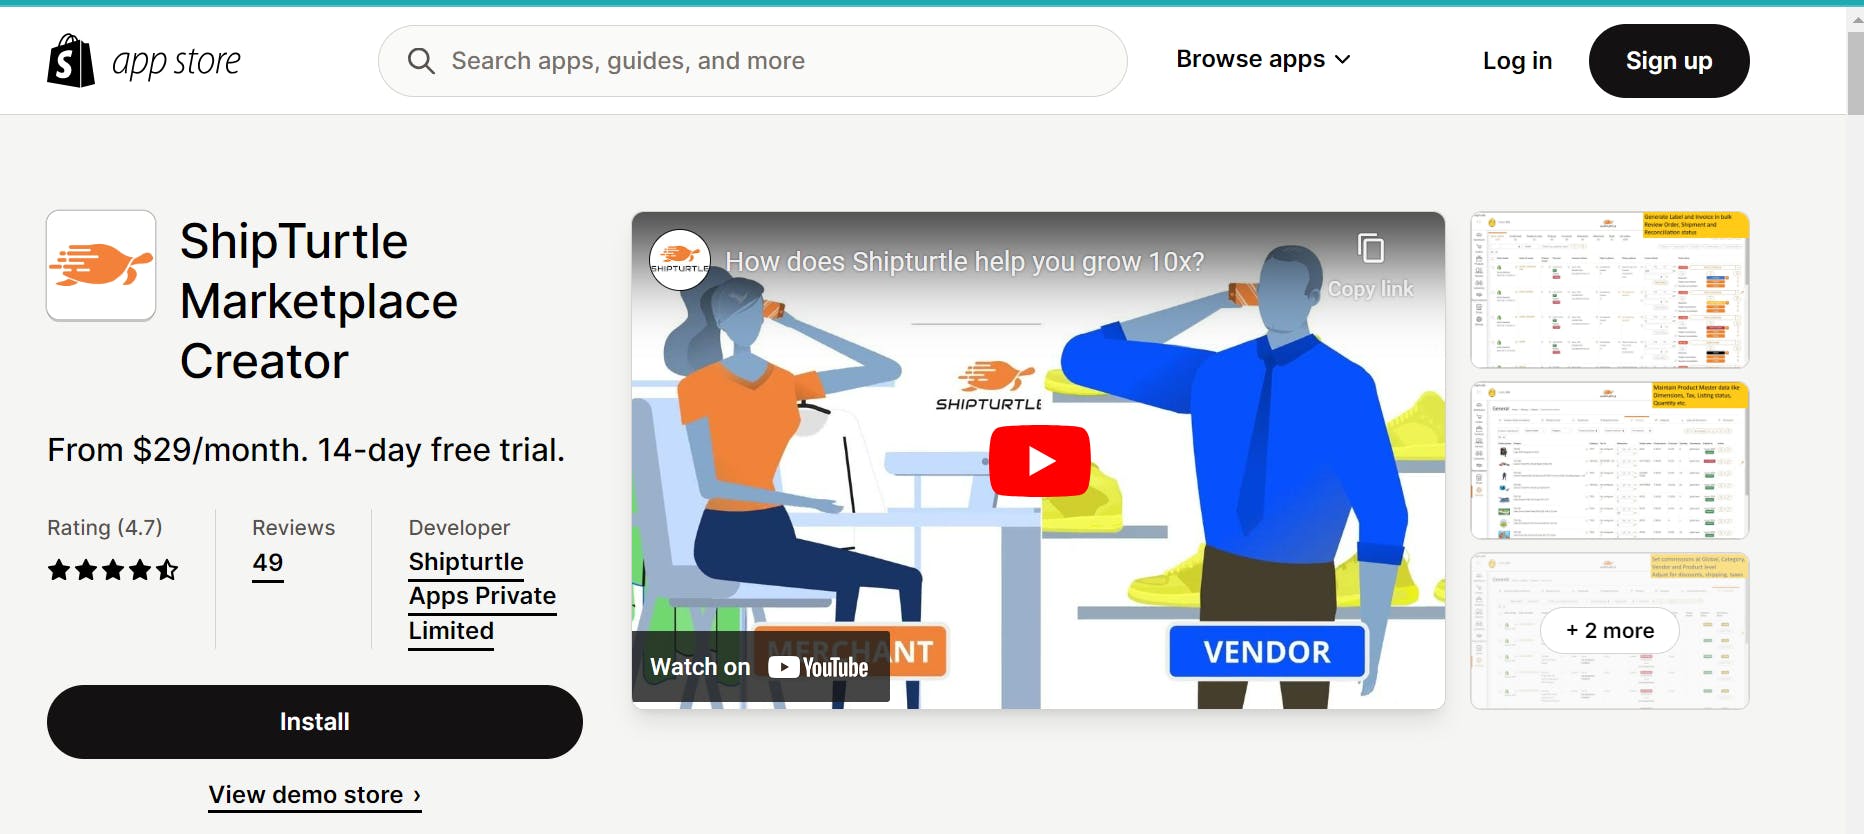
Shipturtle is a multi-vendor marketplace app for Shopify that allows you to create a marketplace where multiple vendors can sell their products. To install Shipturtle, follow these steps:
Go to the Shopify App Store and search for Shipturtle.
Click on the Shipturtle app and then click on the Add app button.
Follow the instructions to install the app.
Step 3: Set Up Your Marketplace
Once you have installed Shipturtle, you can start setting up your marketplace. Here are the essential steps:
Create a vendor registration form: You need to create a vendor registration form that vendors can use to sign up for your marketplace. The form should include basic information like the vendor's name, email address, and company name.
Set up vendor accounts: Once vendors sign up, you need to create vendor accounts for them. Each vendor account should have a unique login and password.
Create vendor profiles: Vendors should be able to create their profiles and add their products to your marketplace. You can use Shipturtle to create vendor profiles and manage their products.
Set up payment gateways: You need to set up payment gateways that allow vendors to receive payments for their products. Shopify supports multiple payment gateways like PayPal, Stripe, and Authorize.net.
Set up shipping options: You need to set up shipping options that allow vendors to ship their products to customers. You can use Shopify's built-in shipping options or install a third-party shipping app.
Step 4: Customize Your Marketplace
Once you have set up your marketplace, you can customize it to match your brand. Here are some customization options:
- Choose a theme: Shopify offers a wide range of themes that you can use to customize your marketplace. You can choose a theme that matches your brand and customize it further.

Add custom pages: You can add custom pages to your marketplace like an About Us page, Contact Us page, and FAQ page.
Customize emails: You can customize the emails that are sent to vendors and customers when they sign up, make a purchase, or receive an order.
Step 5: Launch Your Marketplace
Once you have set up and customized your marketplace, you are ready to launch it. Here are some tips for launching your marketplace:
Test your marketplace: Before you launch your marketplace, make sure to test it thoroughly. Test the vendor registration process, product listings, payment gateways, and shipping options.
Promote your marketplace: Once you have launched your marketplace, you need to promote it to attract vendors and customers. You can use social media, email marketing, and paid advertising to promote your marketplace.
Provide customer support: As your marketplace grows, you need to provide customer support to vendors and customers. You can use Shopify's built-in customer support tools or install a third-party app.
Step 6: Optimizing for Mobile
Given the increasing use of mobile devices for online shopping, optimizing your marketplace for mobile is non-negotiable. Shopify's responsive design ensures a smooth user experience across various devices, enhancing accessibility and user satisfaction.
Step 7: Marketing and Promotion
Develop a robust marketing strategy to drive traffic to your marketplace. Utilize Shopify's marketing tools, such as discounts, promotions, and email campaigns. Leverage social media and other digital channels to create awareness and attract both buyers and sellers.
Step 8: Monitoring and Analytics
Regularly monitor the performance of your marketplace using Shopify's built-in analytics tools. Track sales, customer behavior, and other key metrics. Use this data to identify trends, optimize your marketplace, and make informed business decisions.
Step 9: Customer Support and Feedback
Provide excellent customer support to both buyers and sellers. A responsive support system builds trust and loyalty. Encourage feedback and reviews to gather insights into your marketplace's strengths and areas for improvement.
Step 10: Competitive Analysis
Regularly assess the strategies and features of your direct and indirect competitors, such as Dokan, Webkul, CS-cart, StoreHippo, and Yo-Kart. Identify market trends, innovations, and gaps in the market to stay ahead of the competition.
Conclusion
Creating a marketplace on Shopify using Shipturtle is a great way to expand your business and offer more products to your customers. By following this ultimate checklist, you can create a successful marketplace that attracts vendors and customers. Remember to choose the right plan, install Shipturtle, set up your marketplace, customize it, and launch it.
Thank you so much for reading 💖
Like | Follow | Subscribe to the newsletter.
Catch us on our website here: shipturtle.com